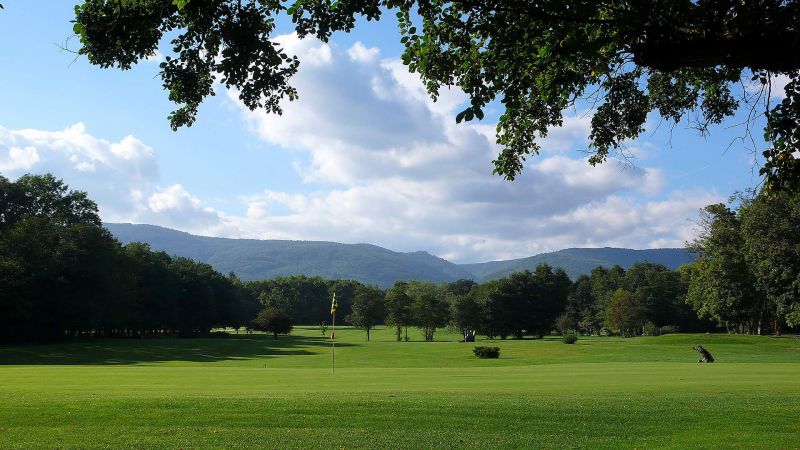
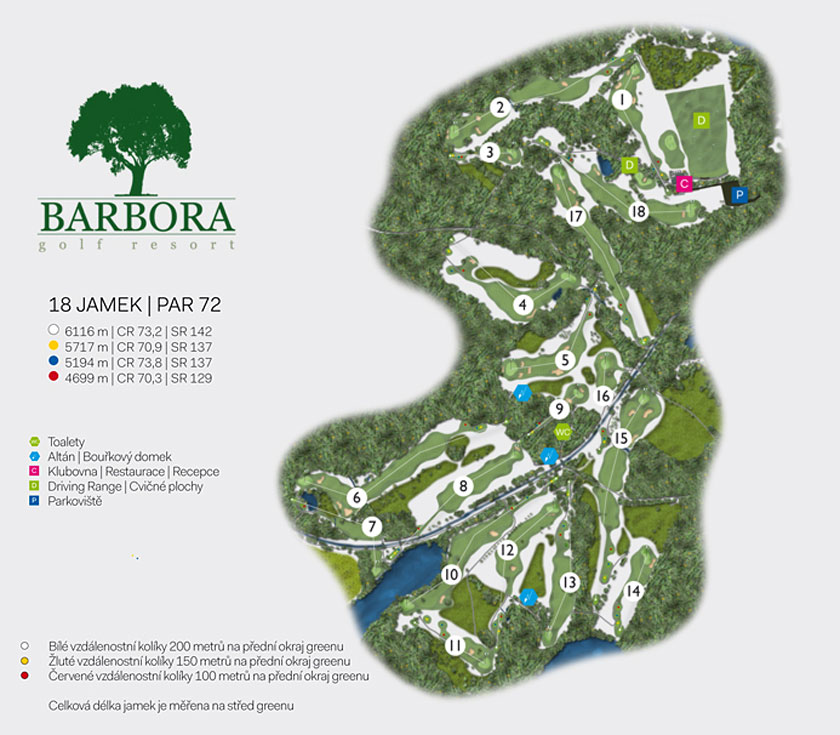
Golf Course map
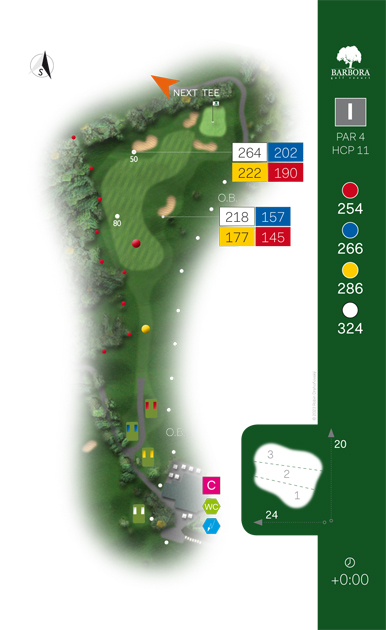
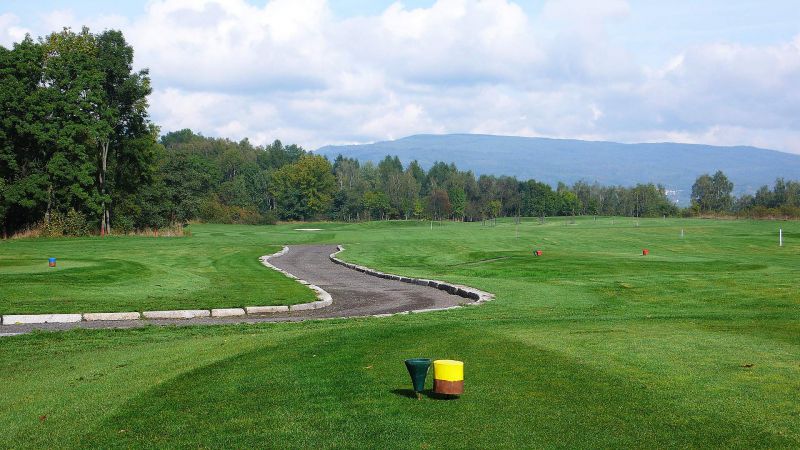
Hole 1 par 4, 282 m
The opening technical par 4, a dogleg right with a water hazard to the left for tee shots and with an elevated diversified green. The accuracy of the second shot is a key to a good score. A sharp start to a technically highly-developed 18-hole course.
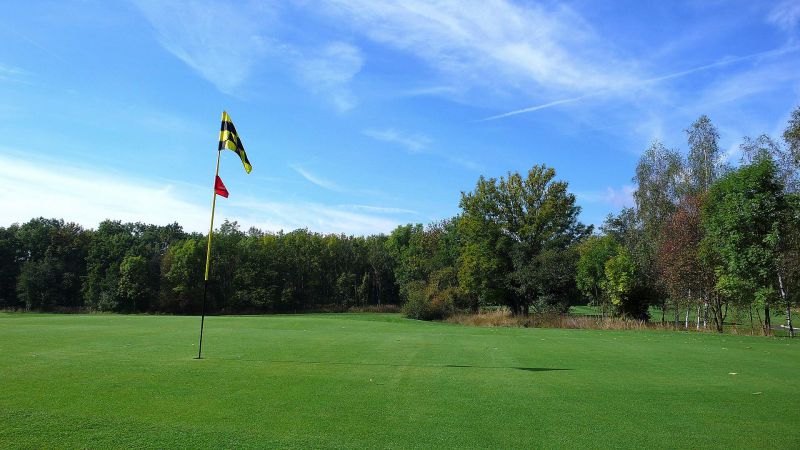
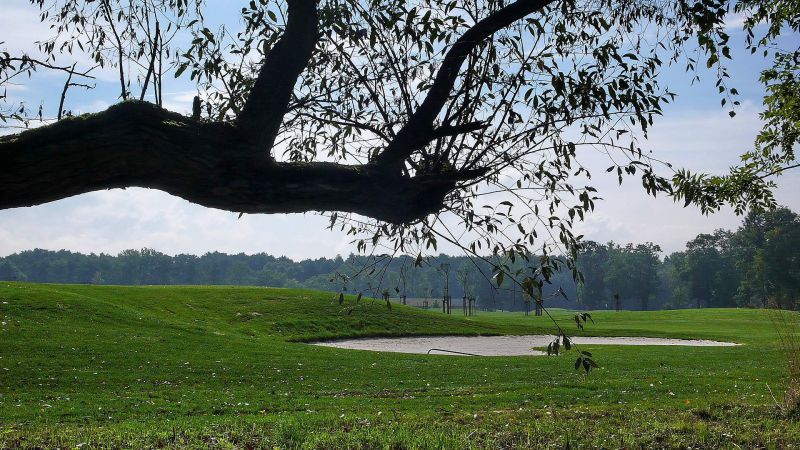
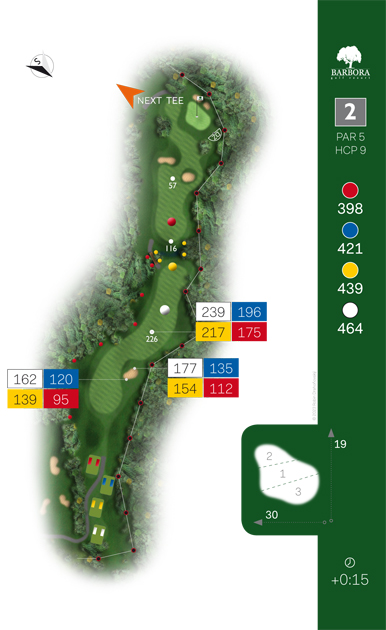
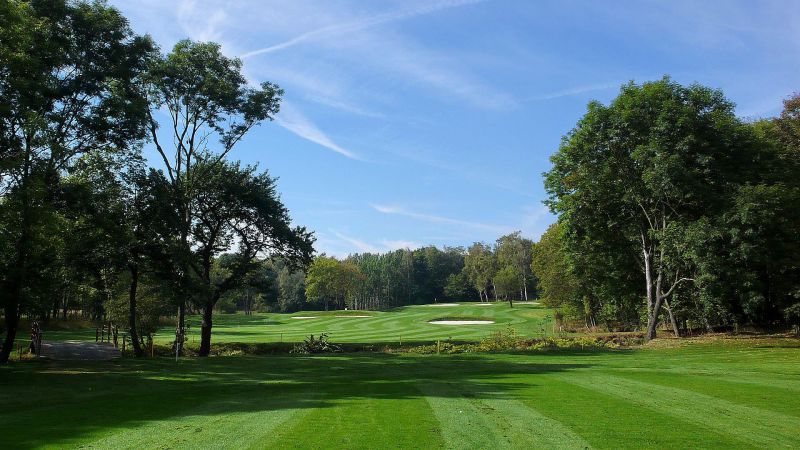
Hole 2, par 5, 447 m
An elegant and very impressive double dogleg set in a mixed forest. It offers several strategic options, to which the brave tee shot behind the first curve of the fairway dominates. A large green is definitely a challenge for those whose shot to the green does not have the optimum length and accuracy. Since the beginning of its construction, the hole has aspired to be the nicest par 5 in the Czech Republic.


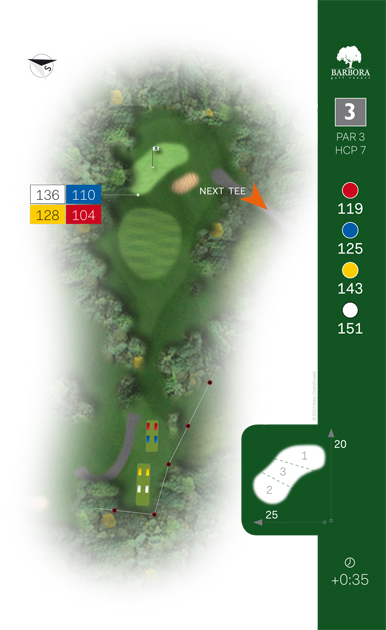
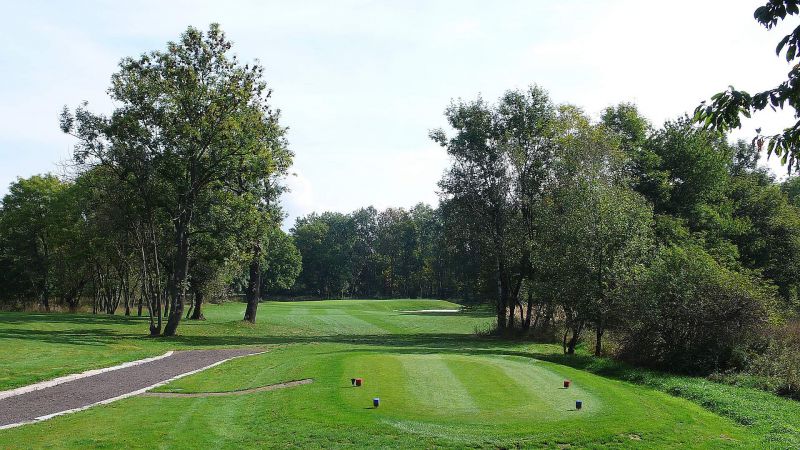
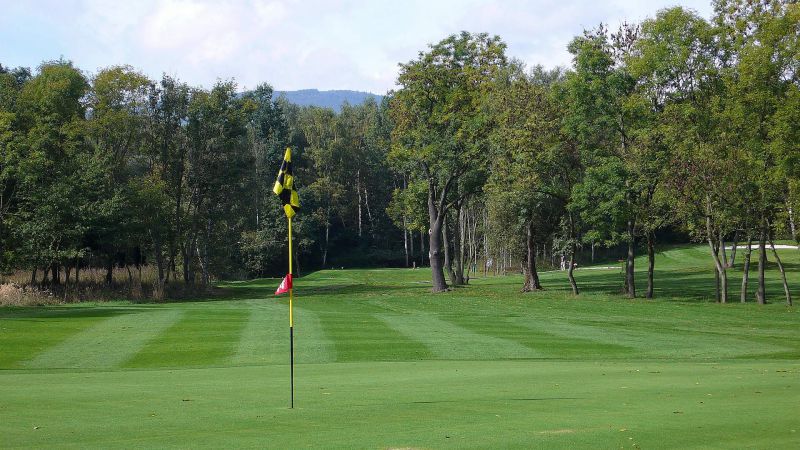
Hole 3, par 3, 142 m
A shot with a medium iron to an elevated diagonal green. A player has to take into consideration whether to attack the hole with the tee shot or to aim at the part of the green which can be hit more infallibly.
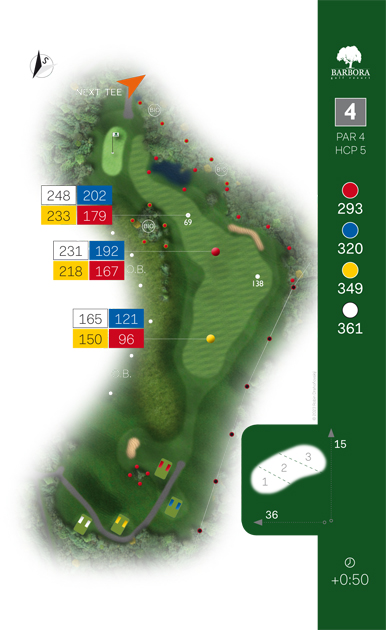
Hole 4, par 4, 355 m
A more demanding par 4 as for the length. From players a first-rate direction performance of the shot onto the green is expected with regard to individual trees in the score zone and the adjacent lake.

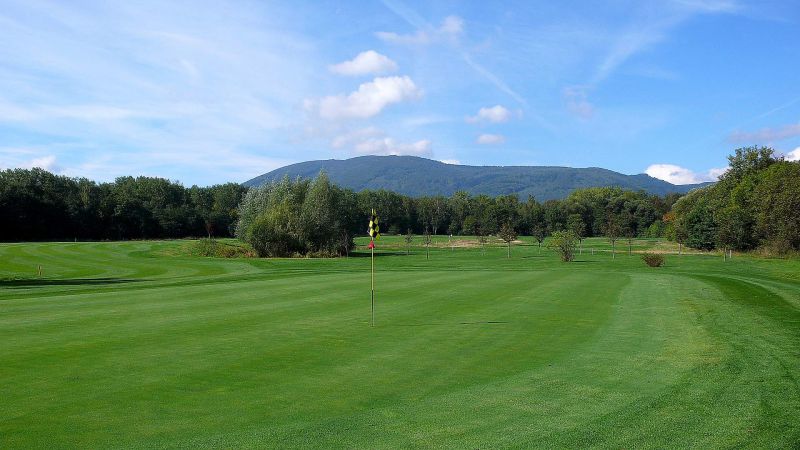
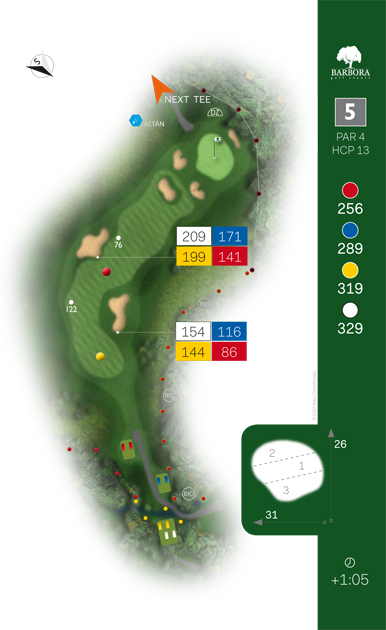
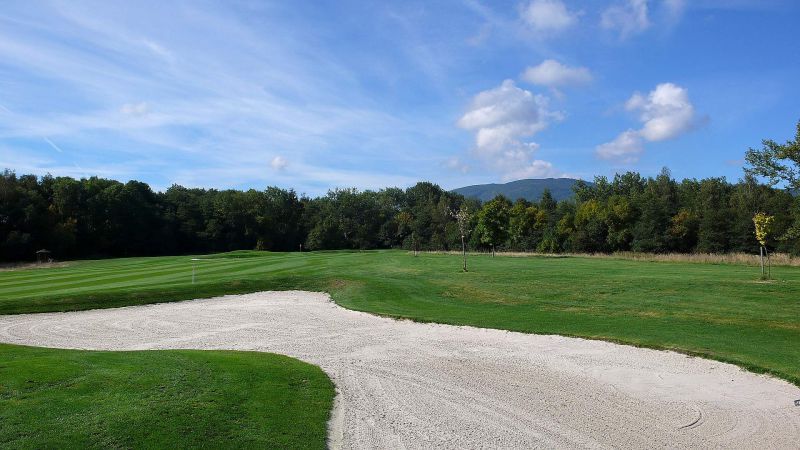
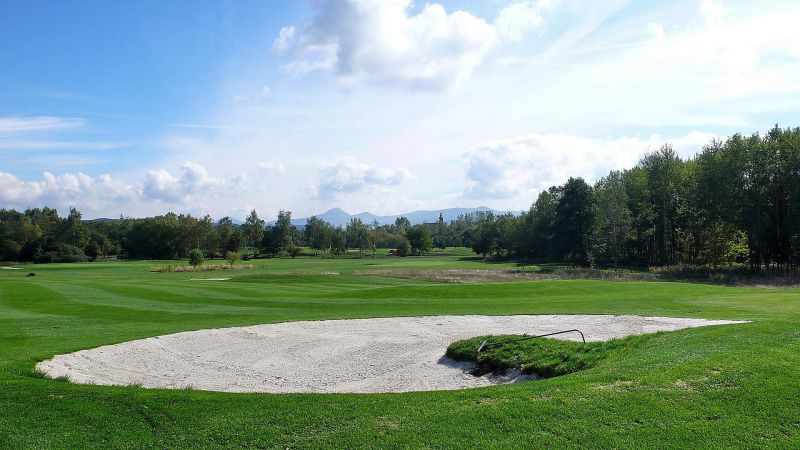
Hole 5, par 4, 316 m
Originally Hole 4, a dogleg right, with enlarged bunkers ahead the green with the aim of an optical illusion of a length distortion. A reckless going through the right side is not the best choice any more.
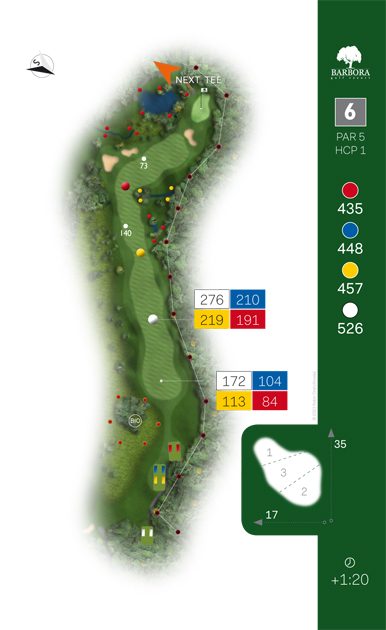
Hole 6, par 5, 464 m
Originally Hole 5 with extended space for the impact of the second shot. The shape that has arisen enables players to attack the green easier with preserving the original demanding character of both tee and second shots.


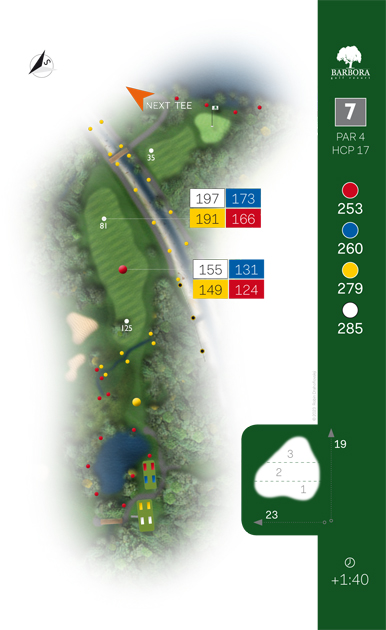
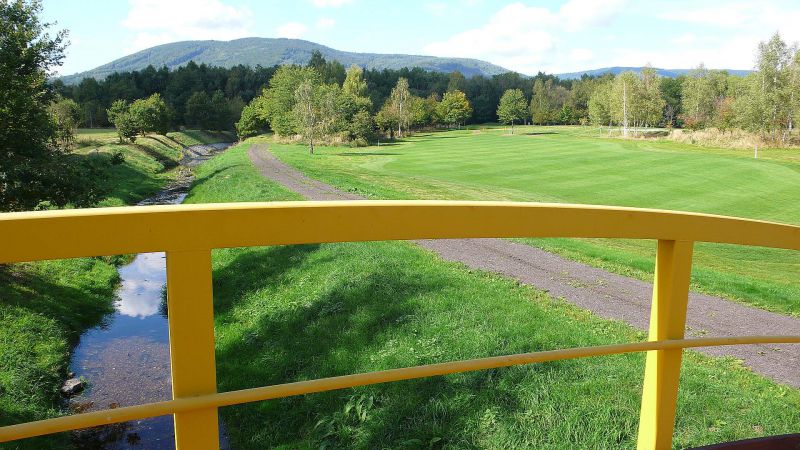
Hole 7, par 4, 277 m
A very technical par 4 requires not long shots, however, they both have to be managed accurately both as for the direction and length. The view from the impact zone of the tee shot towards the green takes the breath of plenty golfers away.

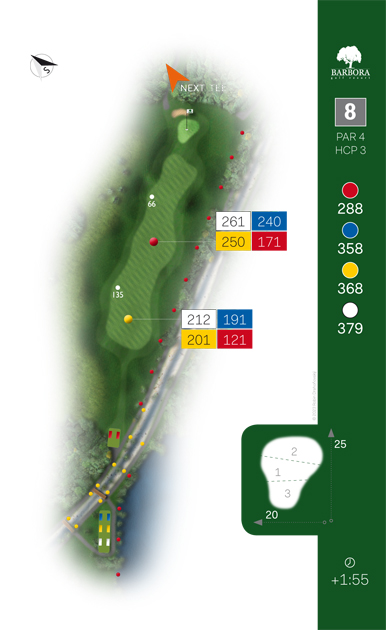
Hole 8, par 4, 369 m
A demanding tee shot onto the diagonally located fairway. Fairway bunkers on the right dare to overshoot them. Nevertheless, this is not any dramatic advantage for the following second shot from the sloping fairway to a very demanding two-layer green.
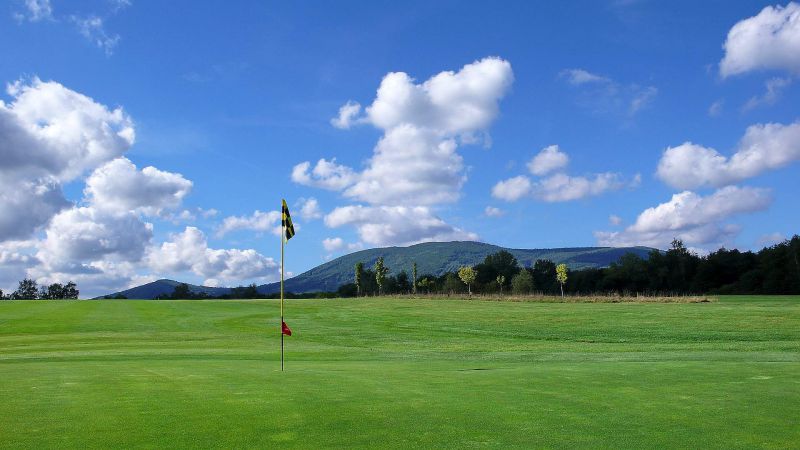
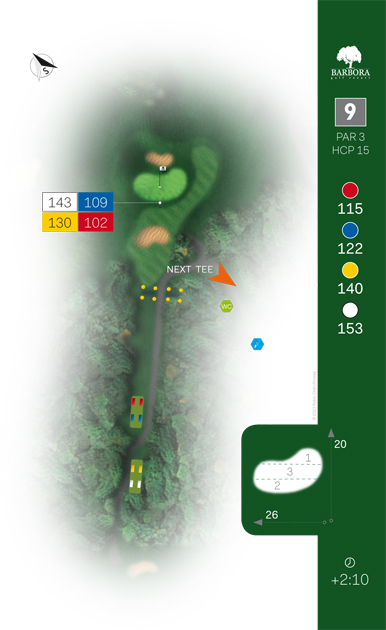
Hole 9, par 3 141 m
Both technically and aesthetically unforgettable highlight of the first nine. A medium iron through a relatively narrow pass among trees onto a well-arranged and seemingly easy green where two sandy horseshoe bunkers are symmetrically placed.
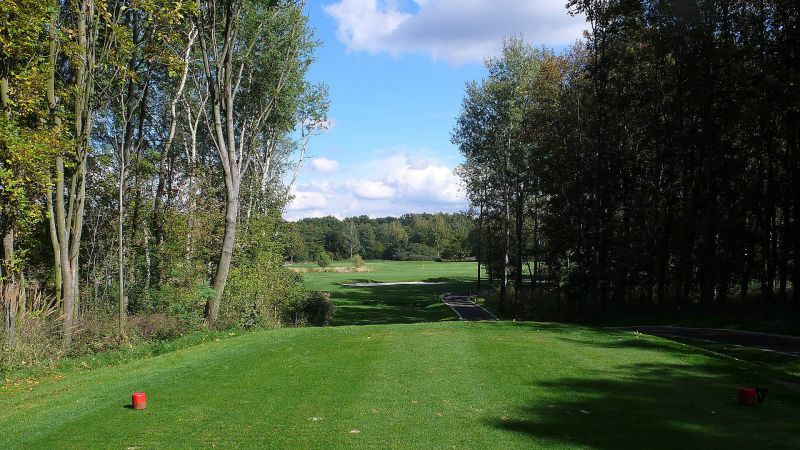


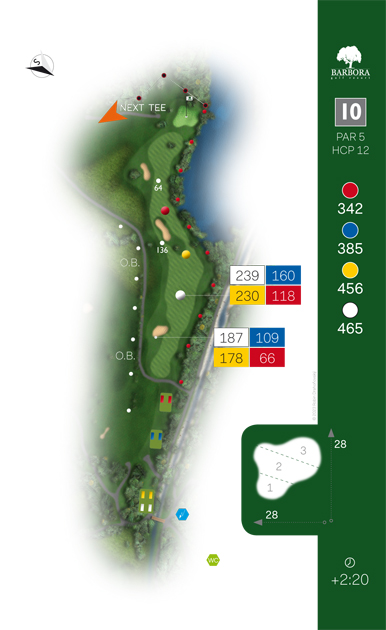
Hole 10, par 5, 461 m
A well-rounded par 5 with a tee shot demanding as for the length and with various strategic options for the second – or possibly further – shots. Probably the most difficult hole of the course.


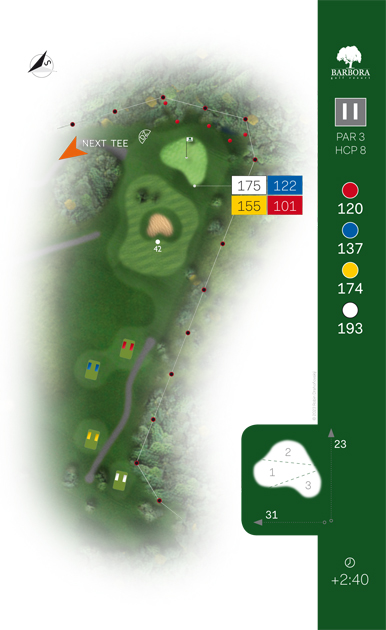
Hole 11, par 3, 175 m
The longest par 3 on the course, the largest green on the course. What else to add?

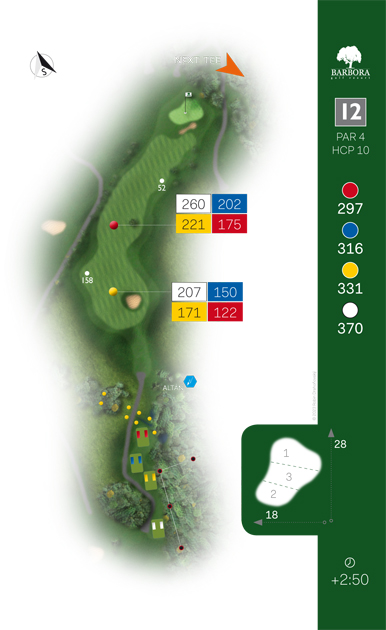
Hole 12, par 4, 333 m
Probably the most attractive par 4 on the course from the players’ point of view. The tee shot onto an elevated saddle and a demanding shot onto an elevated and well-protected green. A bogey player can choose from the divided fairway in the putting green.
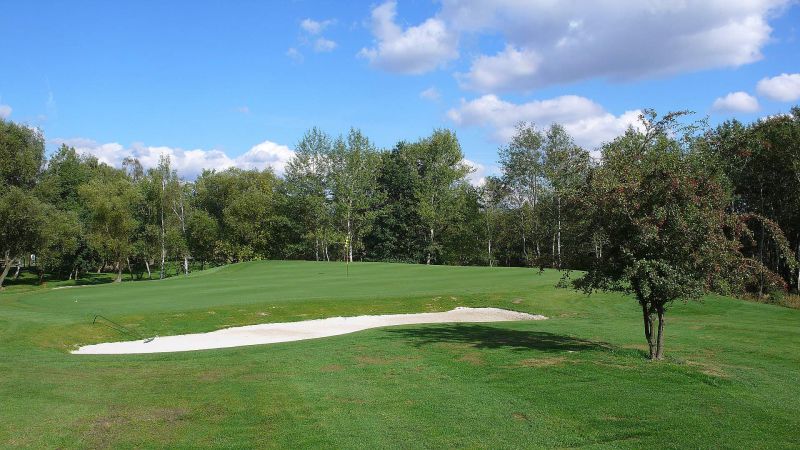

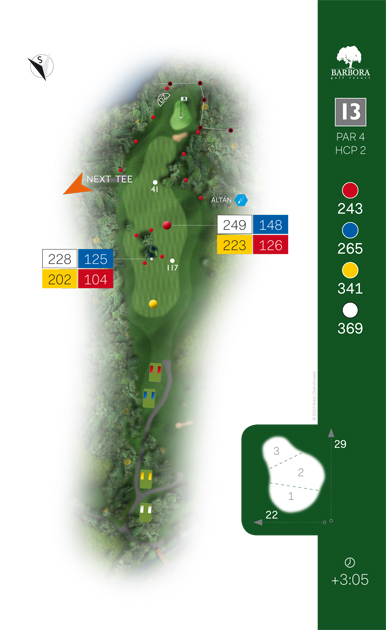
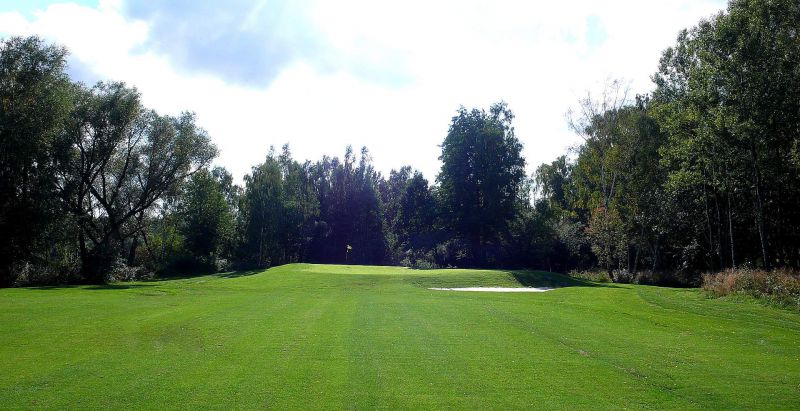
Hole 13, par 4, 343 m
An unexpectedly dangerous par 4. Players from white teeing grounds might be in for the most difficult shot of the course. With a successful tee shot club players can get close a deep green with a modern shape.
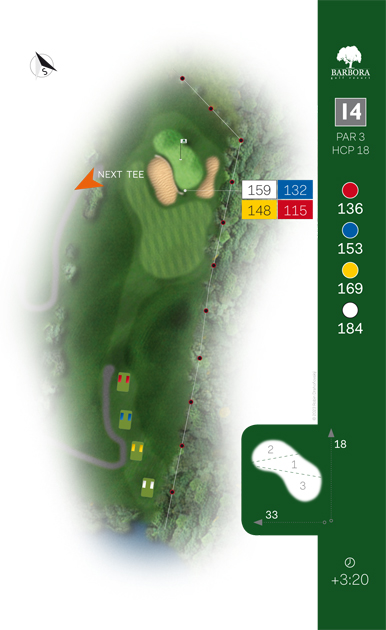
Hole 14, par 3, 168 m
A par 3 giving a really majestic impression where hitting the green is not a guarantee of an easy par.

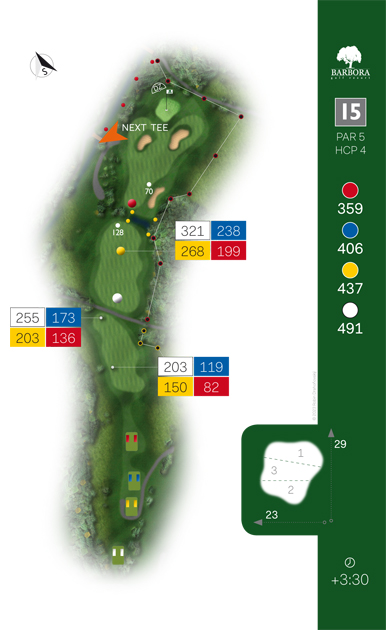
Hole 15, par 5, 435 m
A par 5 with a modern approach and a large landing area for the impact of the tee shot. The second shot over a water hazard must go past the deepest bunker of the course and be as accurate as a laser with regard to two strategically positioned bunkers protecting the elevated green.
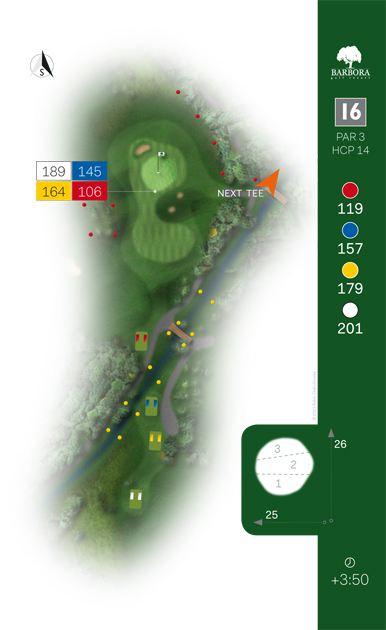
Hole 16, par 3, 180 m
A well-arranged par 3 with a very easy green. Originally Hole 7 with modified tee grounds.
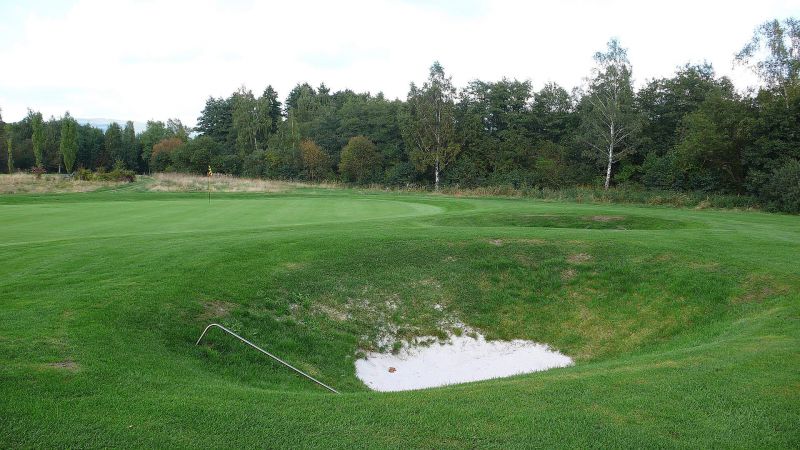
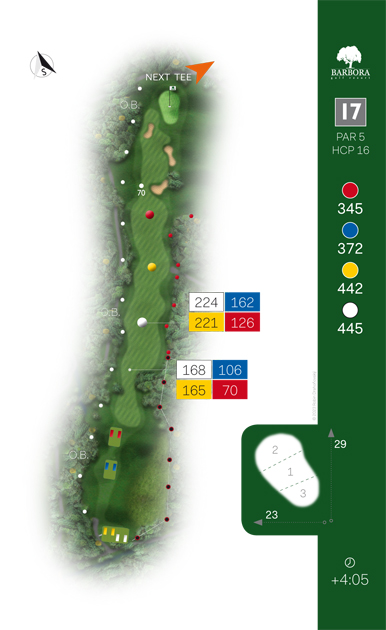
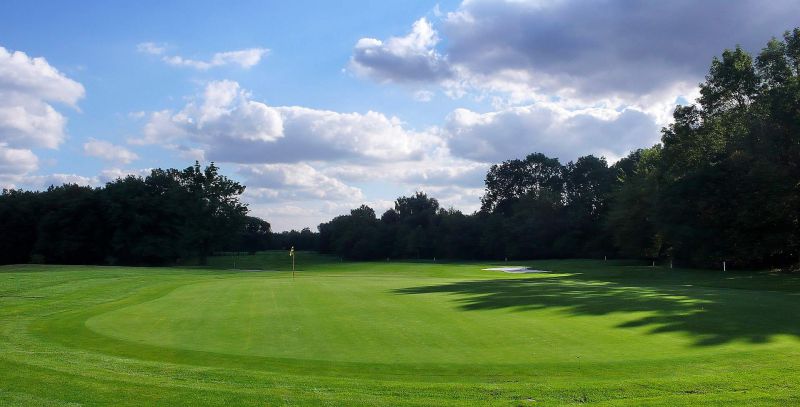
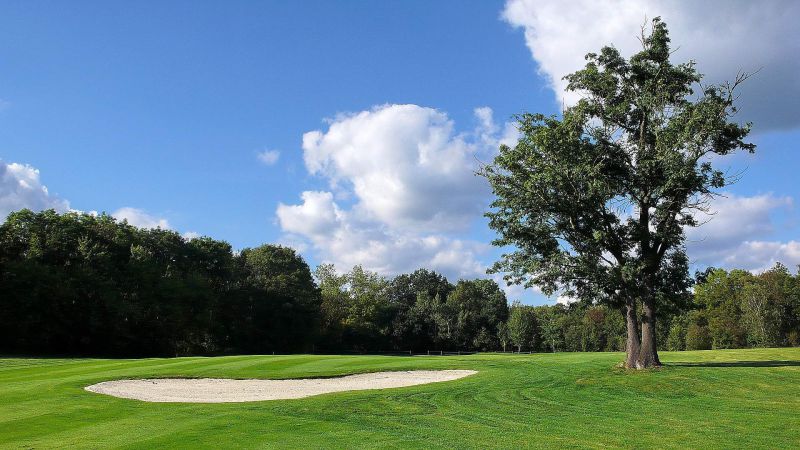
Hole 17, par 5, 443 m
An absolutely straight par 5 with a large green reachable with two shots.

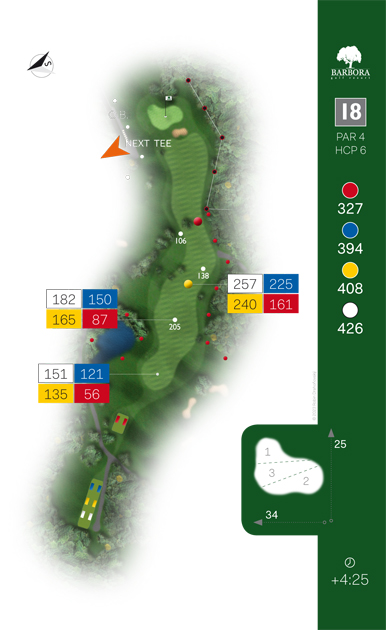
Hole 18, par 4, 413 m
The last hole and the real climax. After the medium-demanding tee shot along a water hazard on the right the player has to face a really demanding shot to a large and shaped green located exactly near the majestic tree, which forms the resort logo as well. An easily played par or a personal par must please each player.